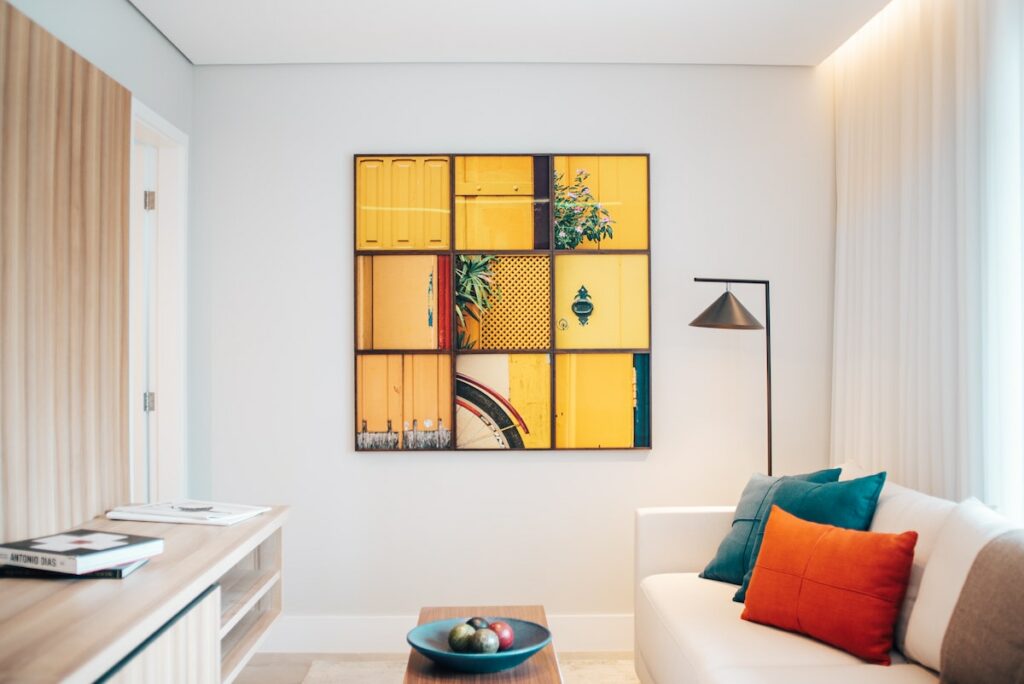
When done well, a perfectly styled shelf can work as an eye-catching centrepiece in your spaces. But styling a shelf expertly isn’t as simple as it looks, especially if you’re styling a floating shelf. If you don’t style your shelves right, they can look like a hot mess.
Bookshelves can be tricky as they take up such a large space in your rooms! A shelf worthy of a “shelfie” should balance your various items nicely. But, like any other part of the home, you should also have a cohesive colour scheme or overall design theme in mind when styling.
So, how do you go about styling a shelf creatively to build something that reflects your personality and showcases your favourite styles? Here are our top shelf styling tips to help you diversify your spaces.
1. Consider which shelves you need
First of all, what kind of shelves would suit your spaces?
For instance, do you want a minimalistic look, or do you only have a few items to style? If so, opt for floating shelves.
Want a more substantial look, but don’t have much space? Go for a small bookshelf in a light colour like crisp white or oak.
Want a more substantial statement piece? Try grouping two large bookshelves next to one another to really make a statement. Or, grab a solid bookshelf in dark timber or even black.
If you already have your shelves ready, think about the best space to fit them in. They should be substantial enough to fit your space and should stand out enough to make a statement. That said, a single floating shelf can be perfect for areas such as above your bed or couch.
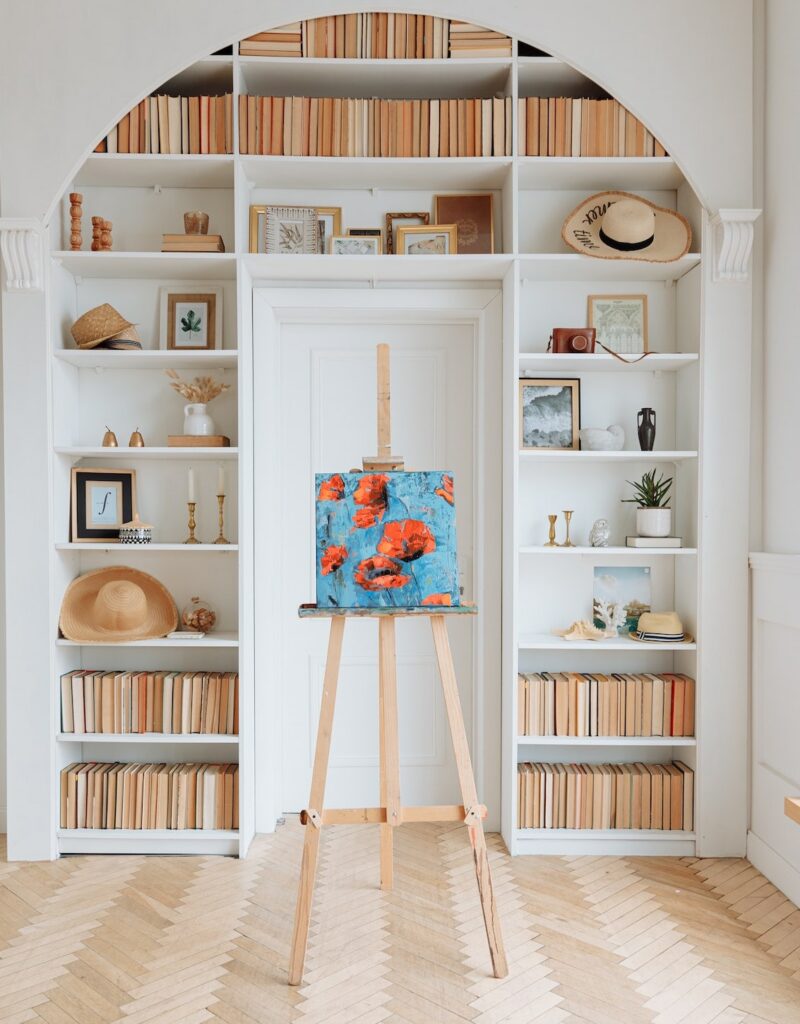
2. Start with large pieces
Firstly, always start with your bigger decor pieces and style them first. Then work your way outwards, fitting the smaller pieces in around the larger. These larger items could be wall art, photo albums, display books, or large potted plants.
Styling these larger pieces first will balance out the smaller items on your shelf. This is so much better than hanging prints on the wall because you can play around with different pictures and configurations without having to move hooks on walls.
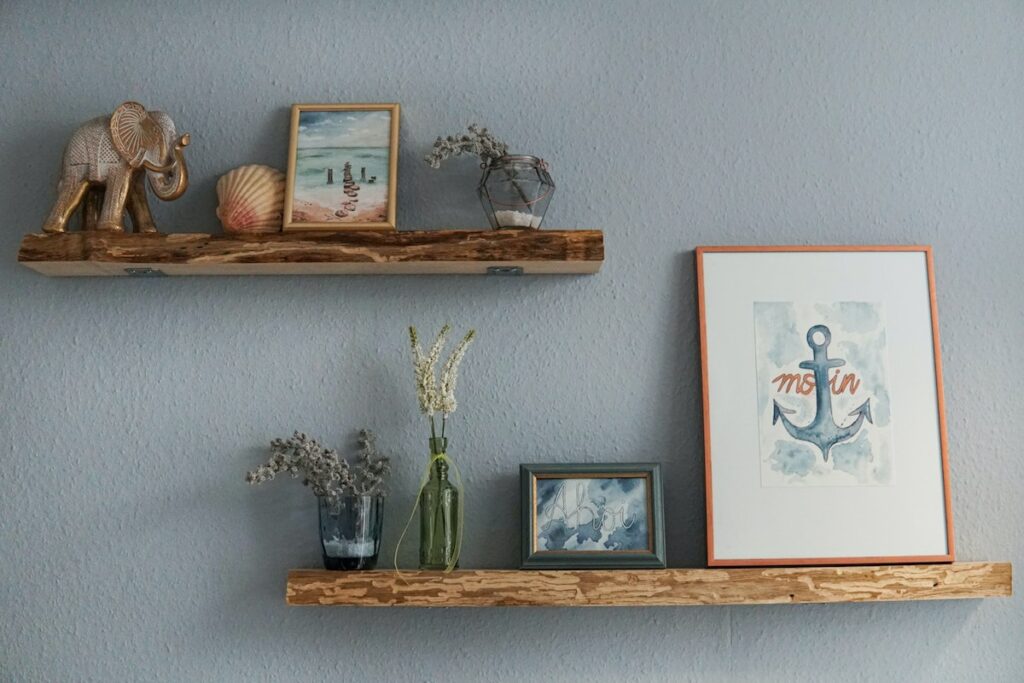
3. Add wall art
Canvas prints are the perfect way to add colour and vibrancy to your shelf, yet they’re also super affordable. By getting a few different prints at one time, you can swap and change them out as you like.
You can even swap your prints out seasonally, with brighter prints for spring and richer prints in darker or cooler colours for the winter months.
In terms of size, with a bookshelf, you’ll need to ensure that your wall art is the correct size and isn’t too tall for each shelf. With a single floating shelf, you may have more room above your shelf to add a taller print. That said, you don’t want to add an enormously tall print that looks off-balance.
But where do you start? Well, you could either search by wall art style. Choose from:
Or, browse by the art style. Start browsing our wall art here.
4. Layer pieces to create depth
To really diversify your décor, layer a variety of wall art on your shelves. Again, start with the larger pieces at the back and add smaller wall art pieces at the front. Try to include a series of prints that either complement each other or visually different prints that provide an interesting visual contrast, such as a line drawing with a colourful modern print.
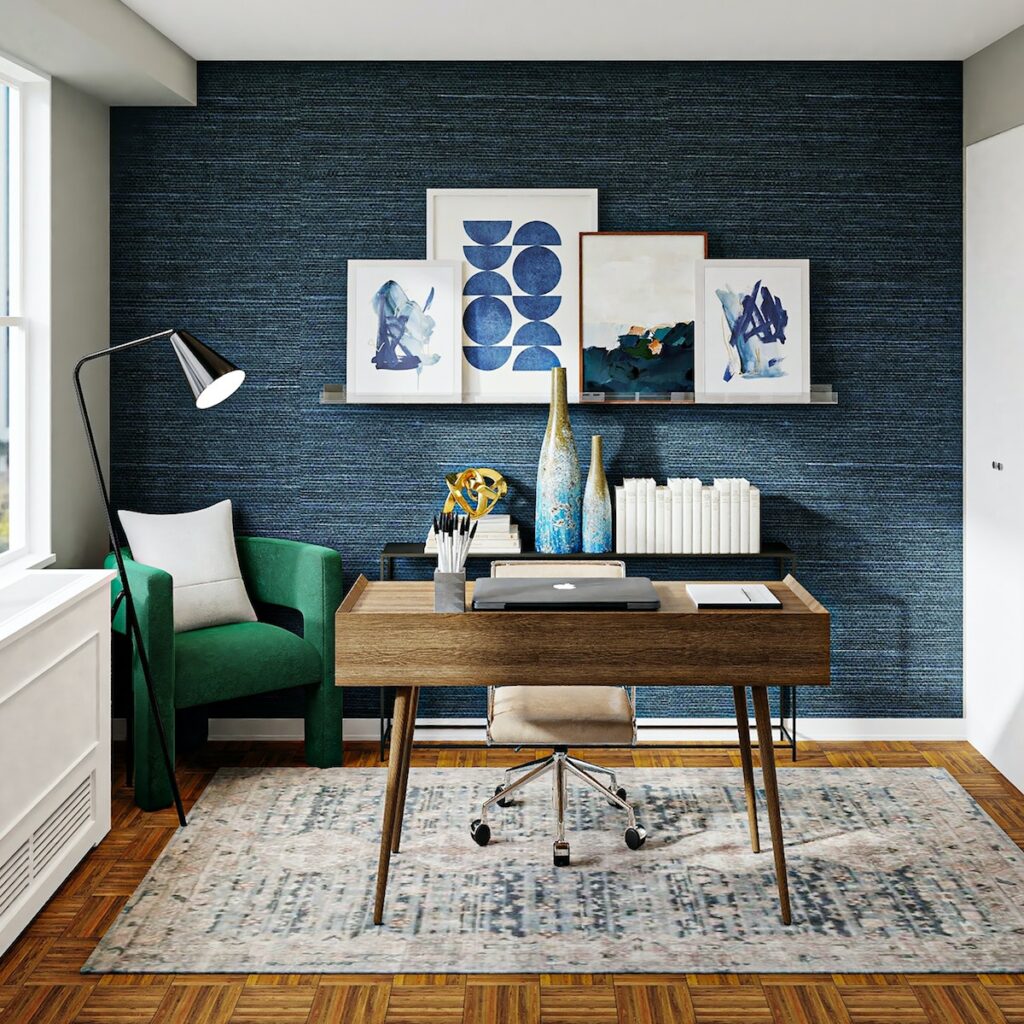
5. Use a variety of colour
When styling your shelf, think about what you’re trying to create, and how it might fit in with the rest of your room. For instance, perhaps you have a very minimalistic room and you’d like to bring in some colour. Or, maybe your space is already quite busy and you just want to display a few select wall art prints, books, and ornaments in a minimalistic way? Planning what you want to achieve can give your project the focus it needs.
If you’re short on inspiration, search Pinterest for other fabulous “shelfies”.
6. Add decorative items
Now it’s time to add decorative items! Always remember to layer larger items behind smaller and if it’s looking off-balance, simply start experimenting. You might not get it right the first time, so take time to tinker and switch things up. Here are a few other items (apart from wall art) that you might like to add:
- Books, stacked horizontally or displayed with the cover facing outward like a miniature artwork. Again, layer smaller books in front.
- Candles, vases, trophies, ornaments, or other decorative items; either placed alone or in groups of two or three
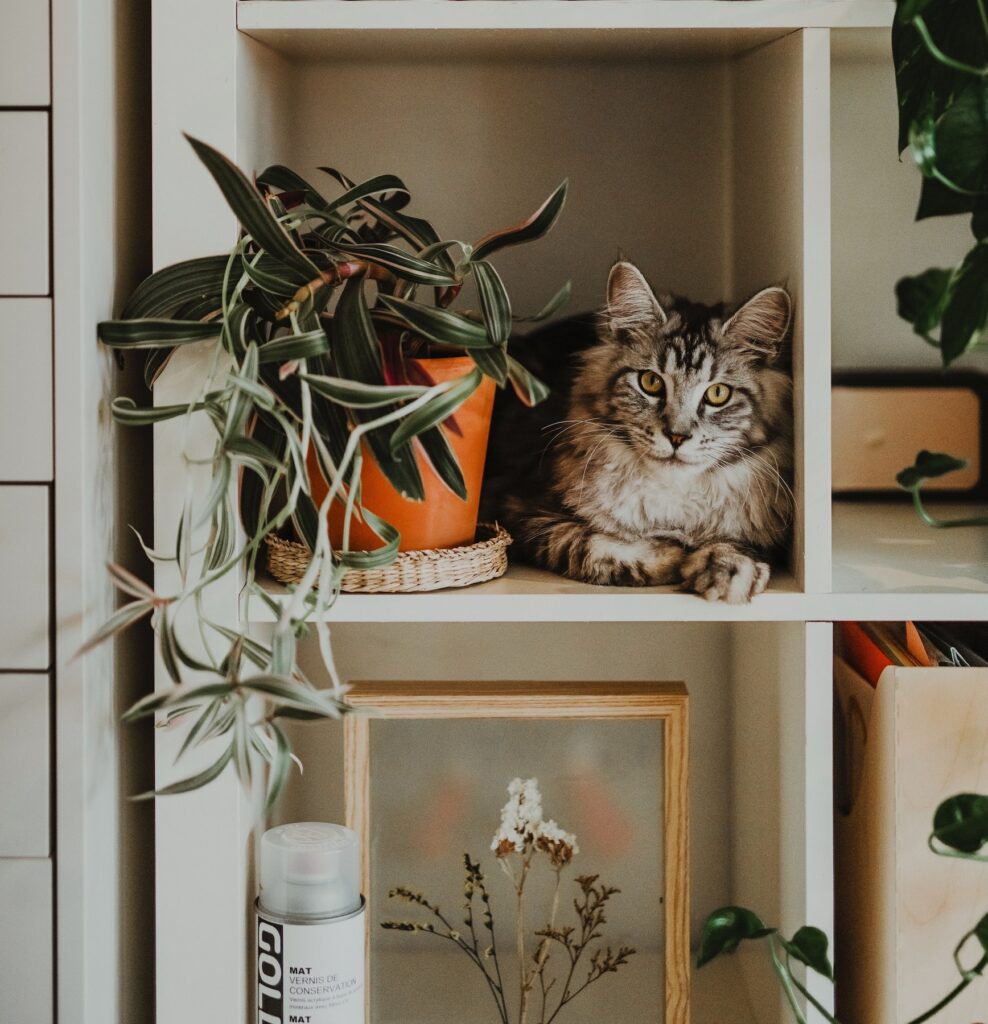
- Pot plants or small terrariums; these can be great for adding some vibrant colour to your space
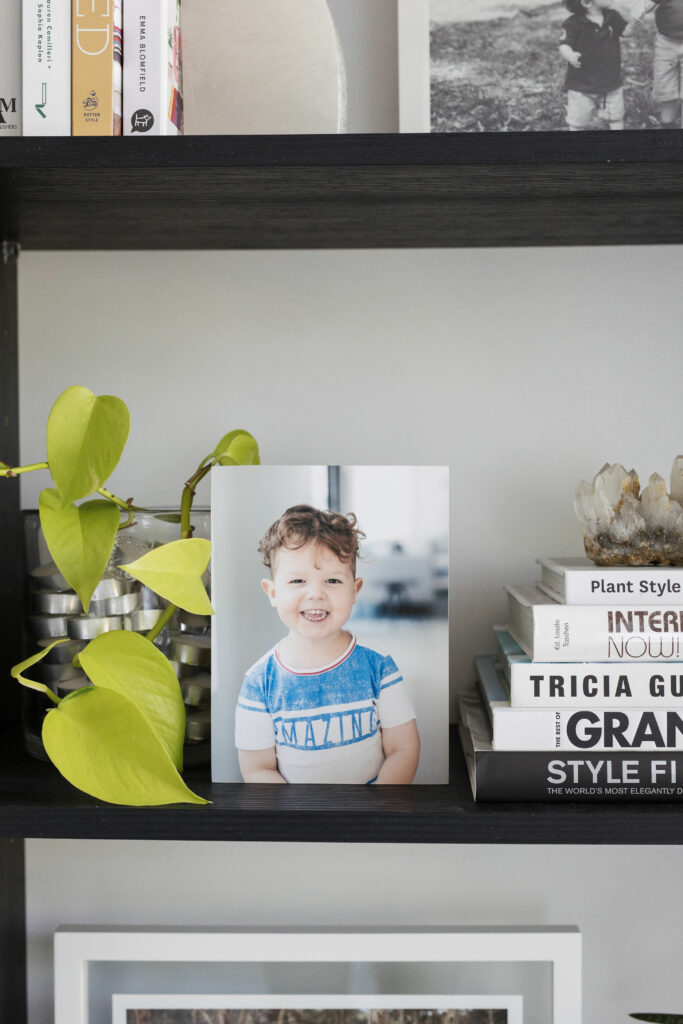
- Photo blocks; these are much smaller and more affordable than a larger canvas print. They’re perfect, however, as they have a solid base, and are super-easy to style, as they’re frameless. That means that even if you move or change up your style, you’ll never have to match them to anything!
7. Change up your styling
Still not sure how to style your shelves? Take photos of your chosen styling, stand back and then edit down according to what you feel works best. Change it up and take another photo and then go with the final arrangement that you prefer.
Sometimes the most unexpected styles or colours actually work like a dream together! You never know until you try it, so don’t be afraid of mixing things up.
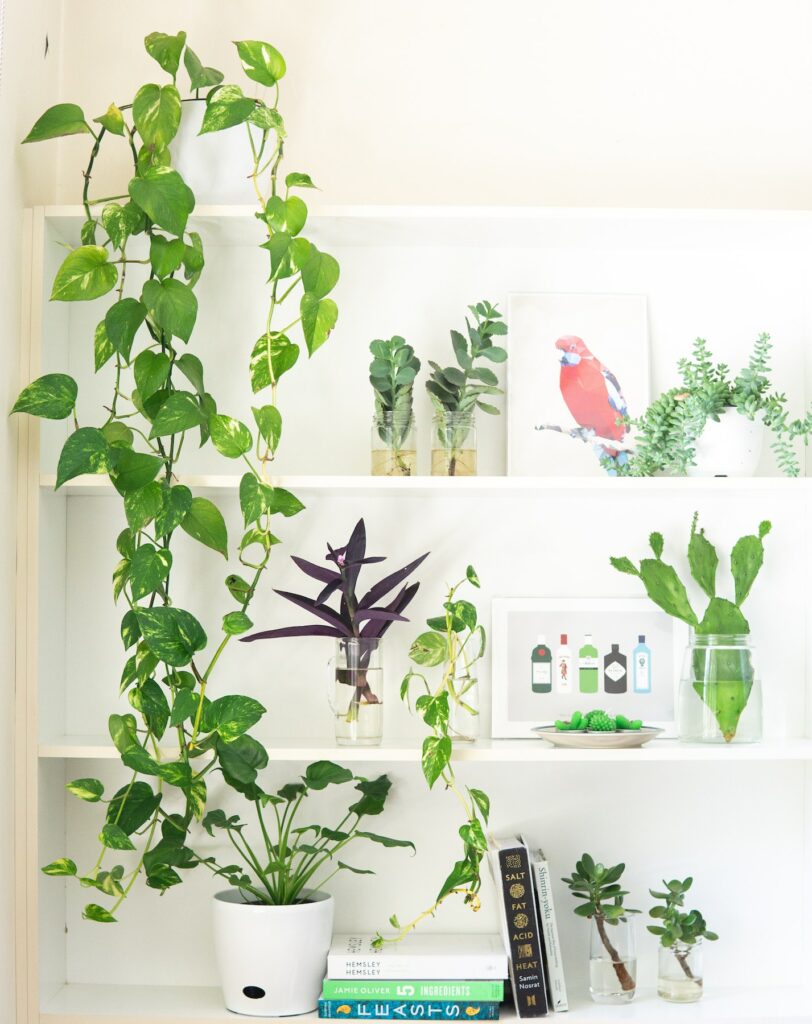
Also, think about your use of negative space. Sometimes it’s actually better to have some gaps in your shelving instead of stacking your shelves chock-a-block with junk that you don’t have space for elsewhere. On that note, try to avoid your shelves becoming a dumping-ground for trinkets like keys and jewellery.
The pieces that you select for your shelving should be a natural fit for the items you already have. So ideally you wouldn’t want to add a bright, neon print within the context of dreamy pastels or a white, Hamptons-style space.
Luckily, we have plenty of images and styles of wall art to choose from! Of course, you can always choose family photos; they’re always an easy choice. Or, you could add a wall art design. With over 20 million images to choose from, you’ll be spoilt for choice! To start browsing for a design, click here.


